Baby sling instruction
Baby Sling Wrapping Instructions
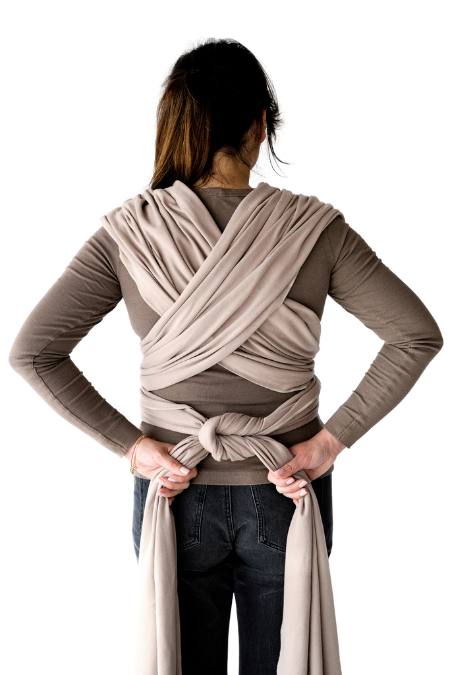
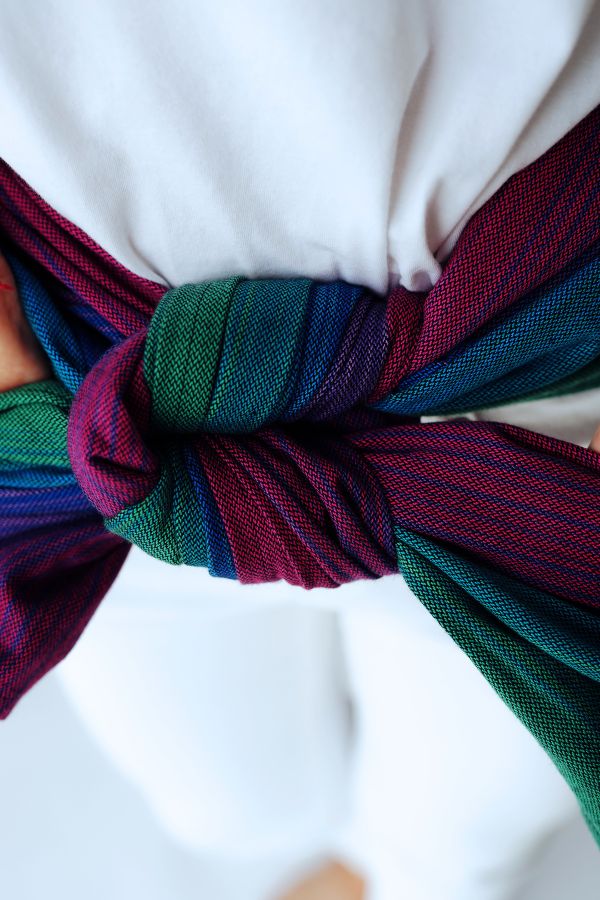
- How to Tie a Flat Knot
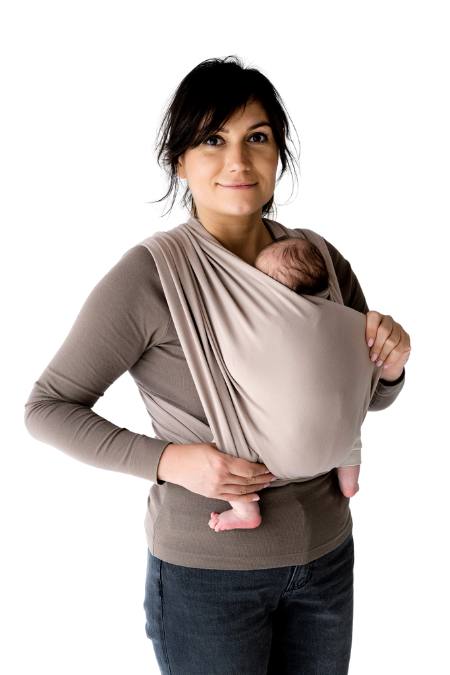
- Pocket Wrap Cross Carry
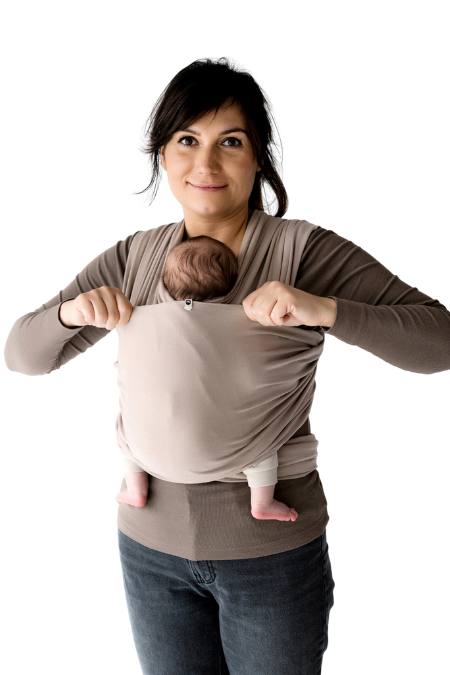
- Kangaroo Carry
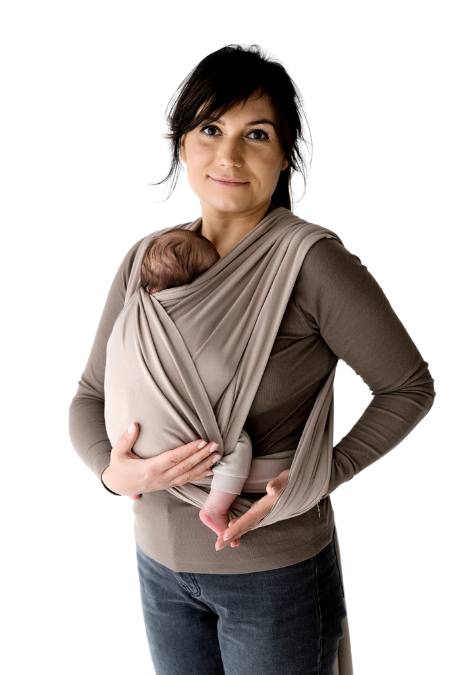
- Front Wrap Cross Carry
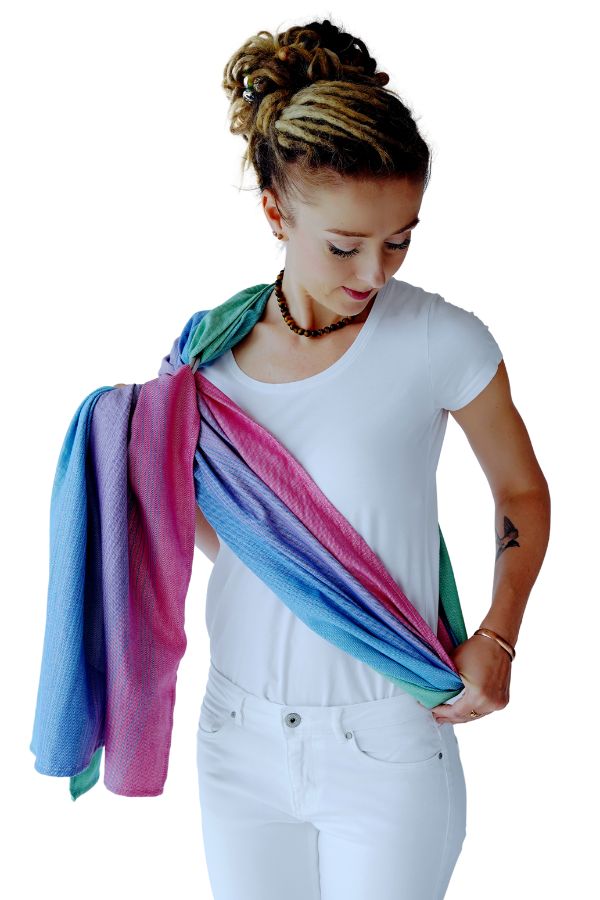
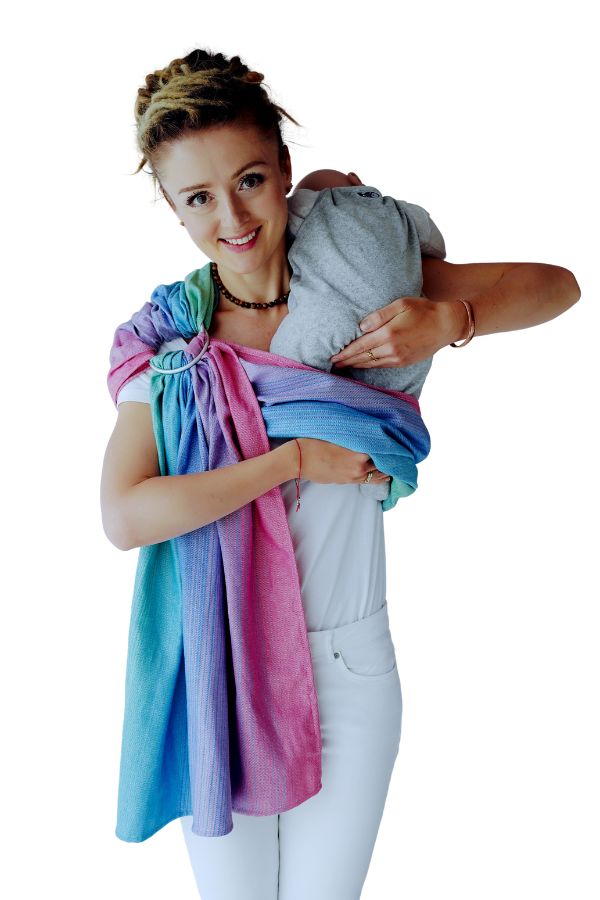
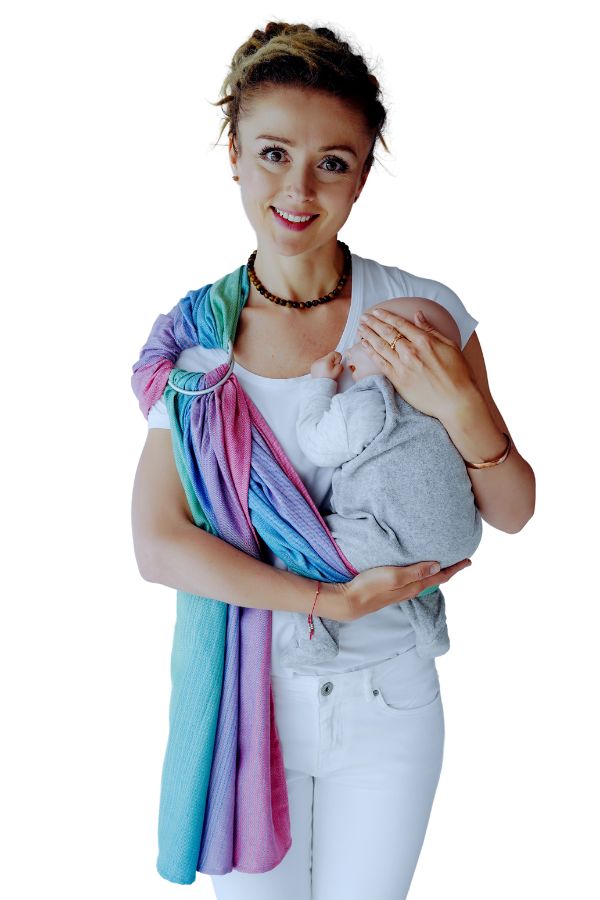
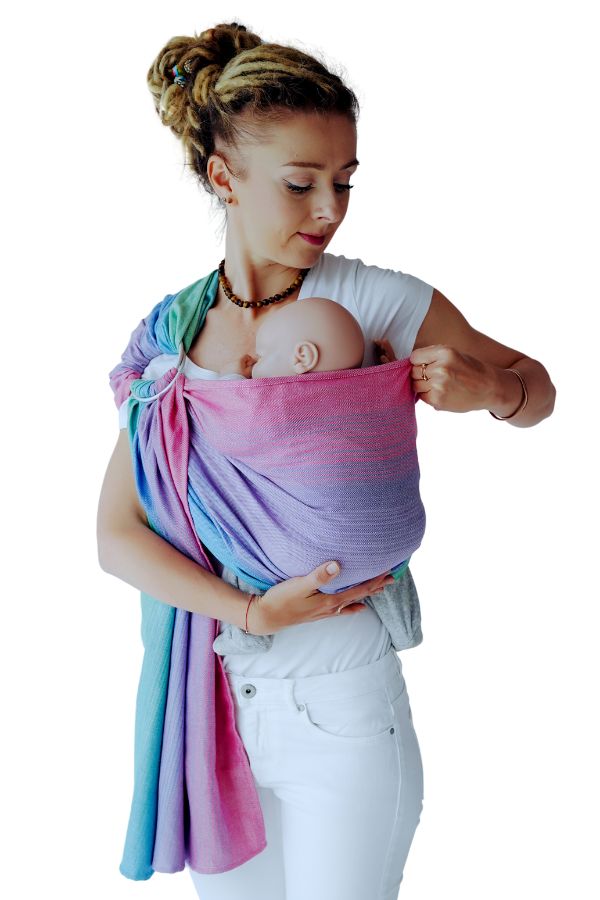
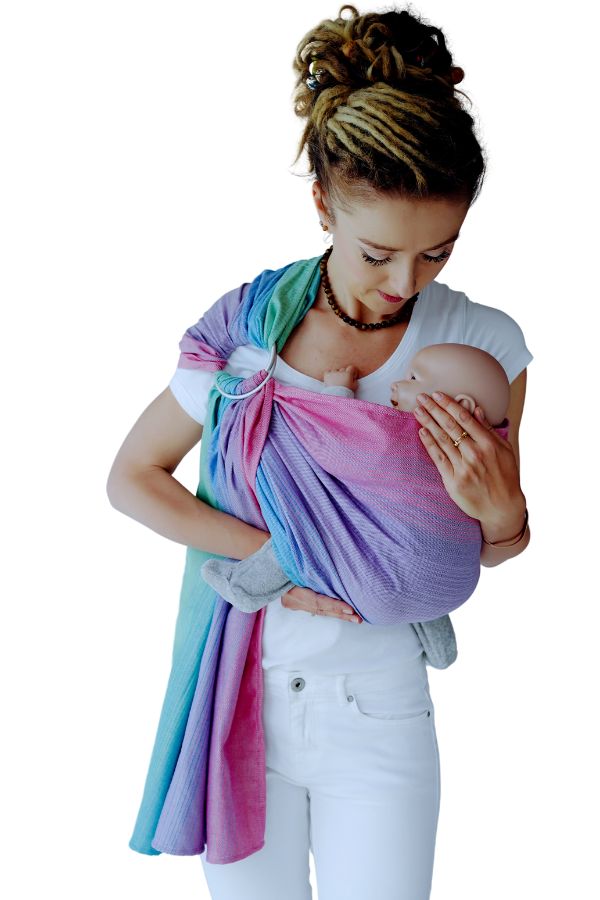
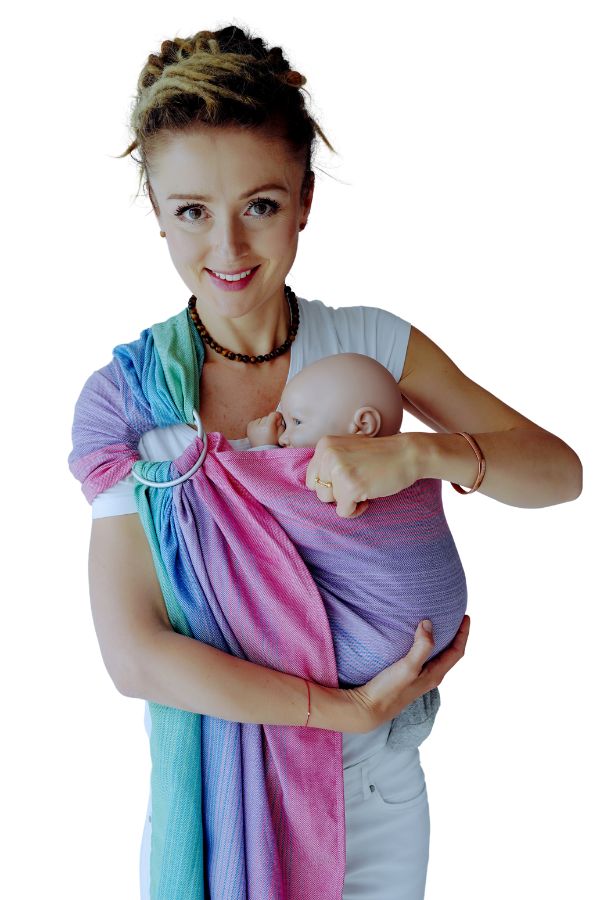
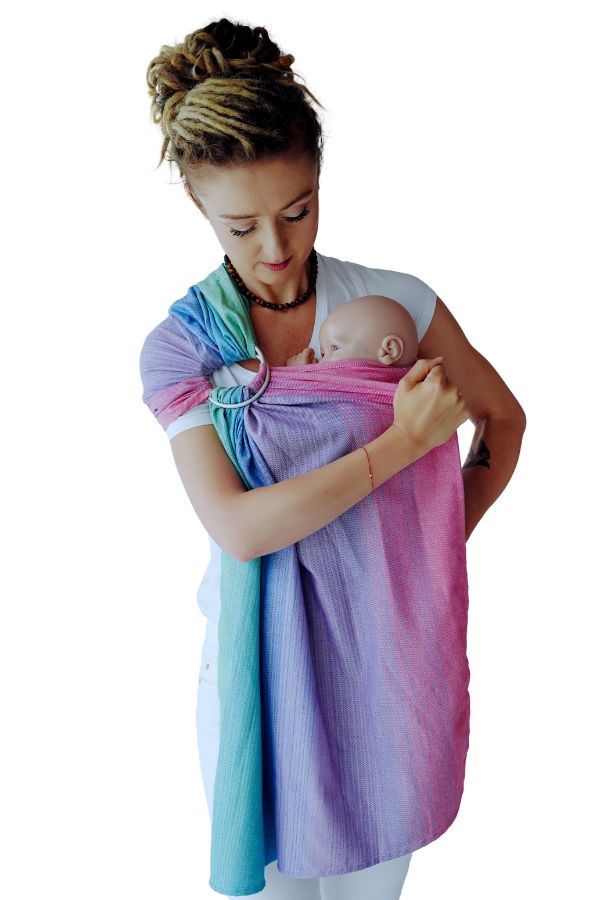
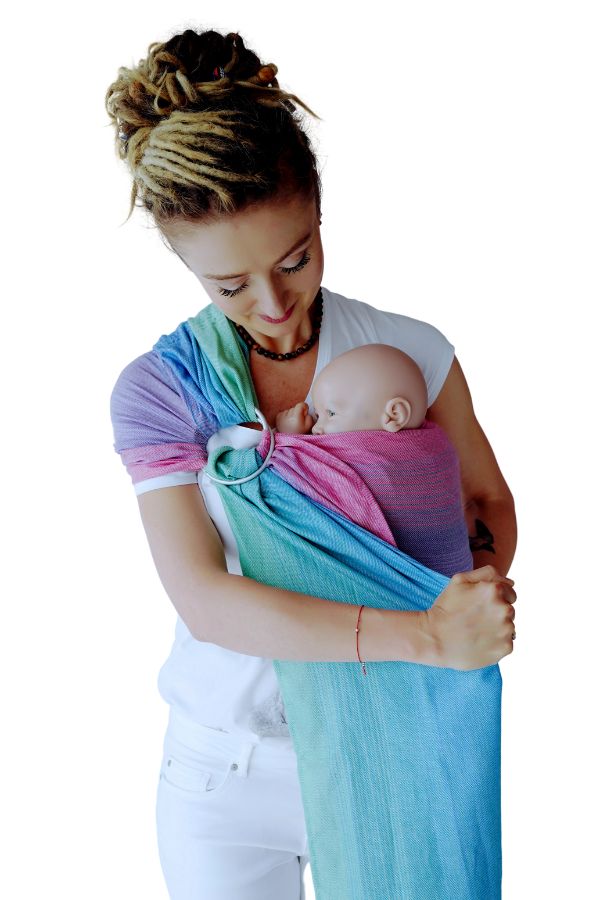
- Ring Sling Carry
- Stretchy Wrap Carry
- Caution & Warnings
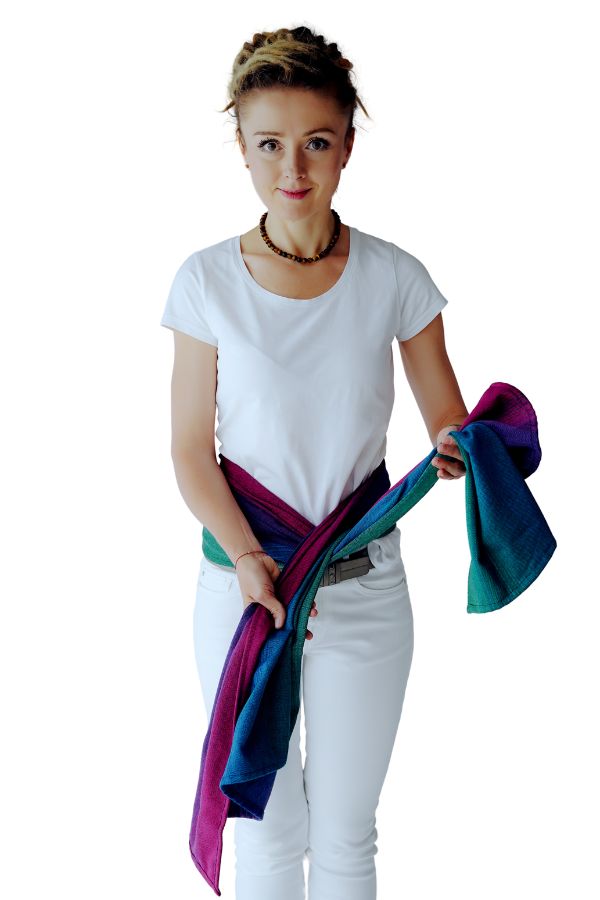
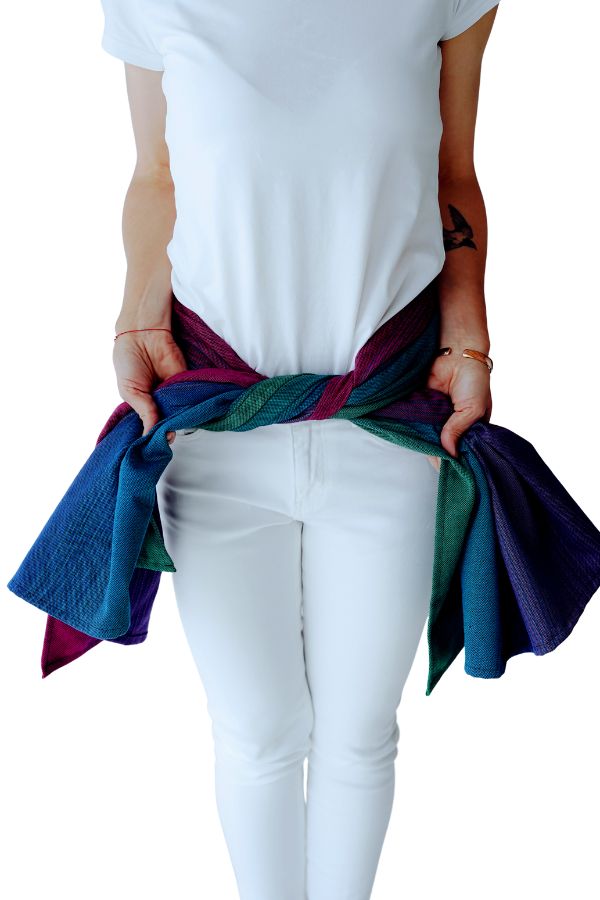
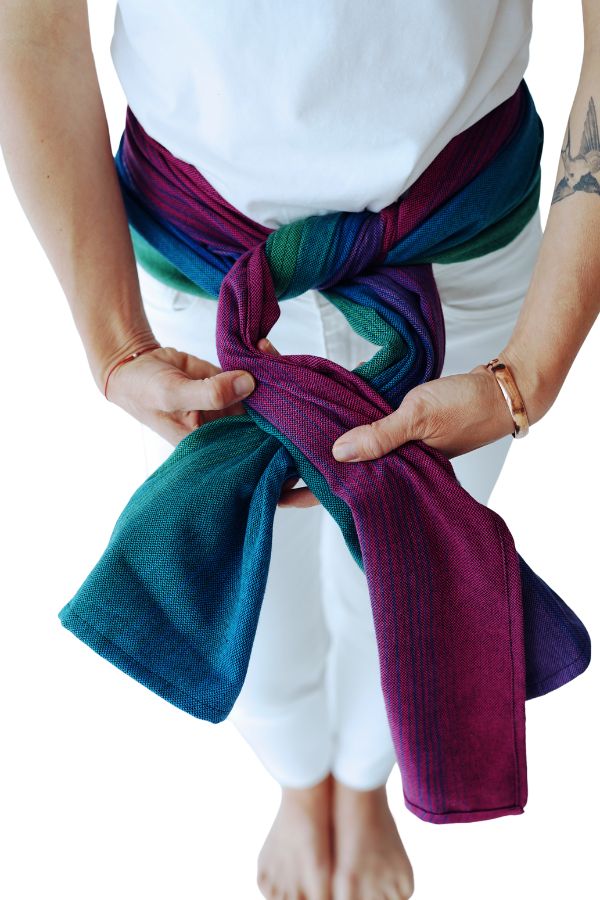
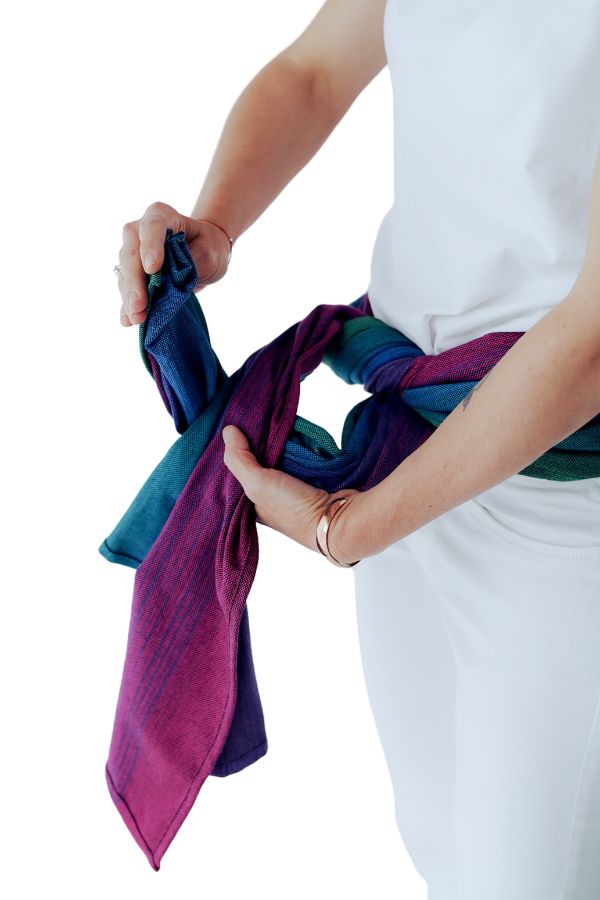
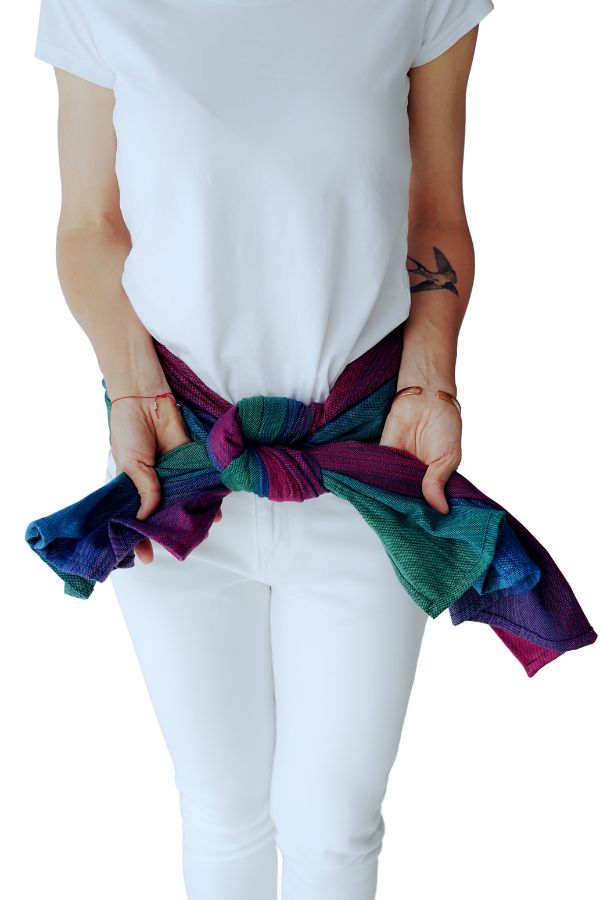
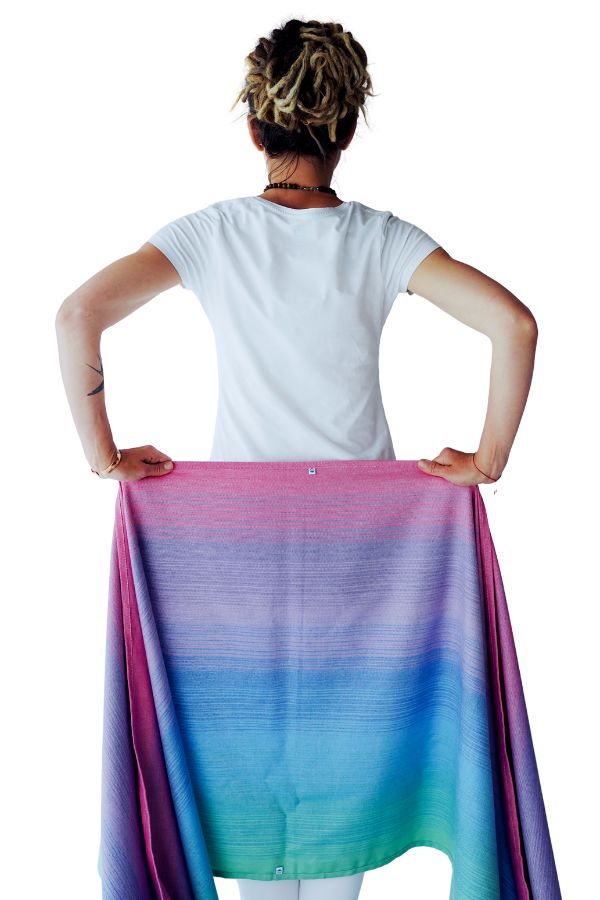
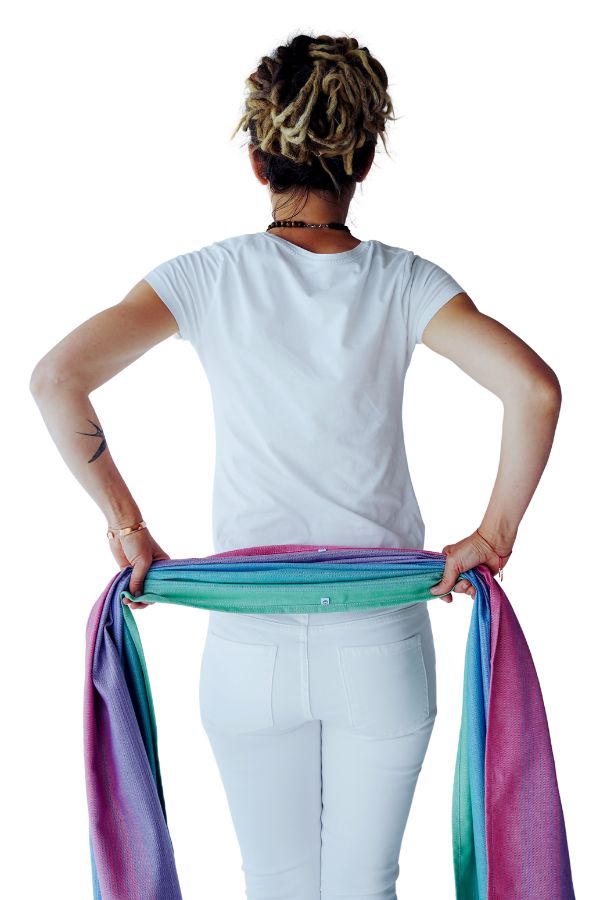
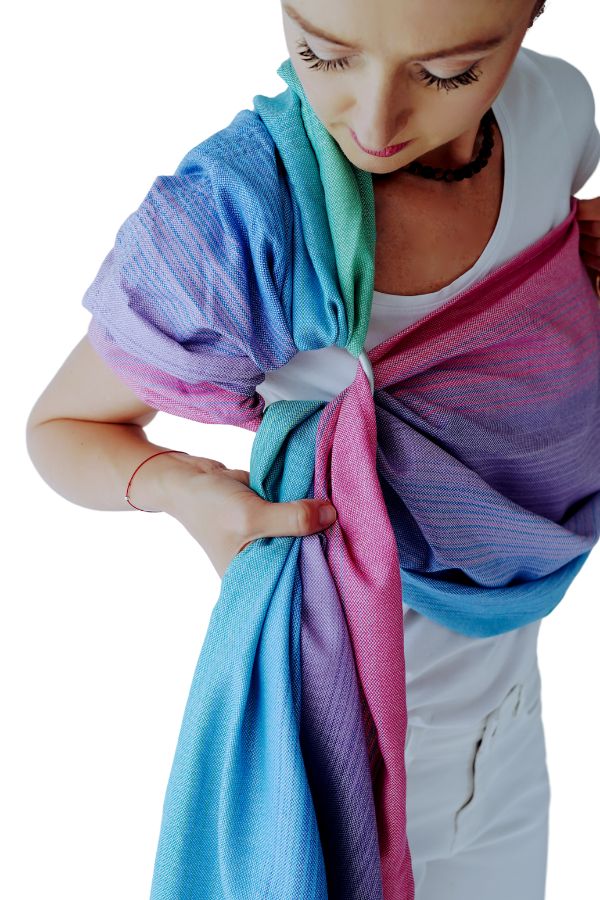
How to Tie a Flat Knot in a Woven Wrap

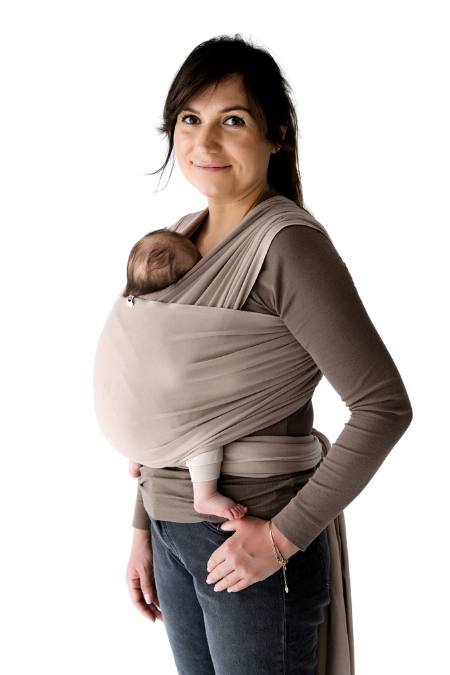
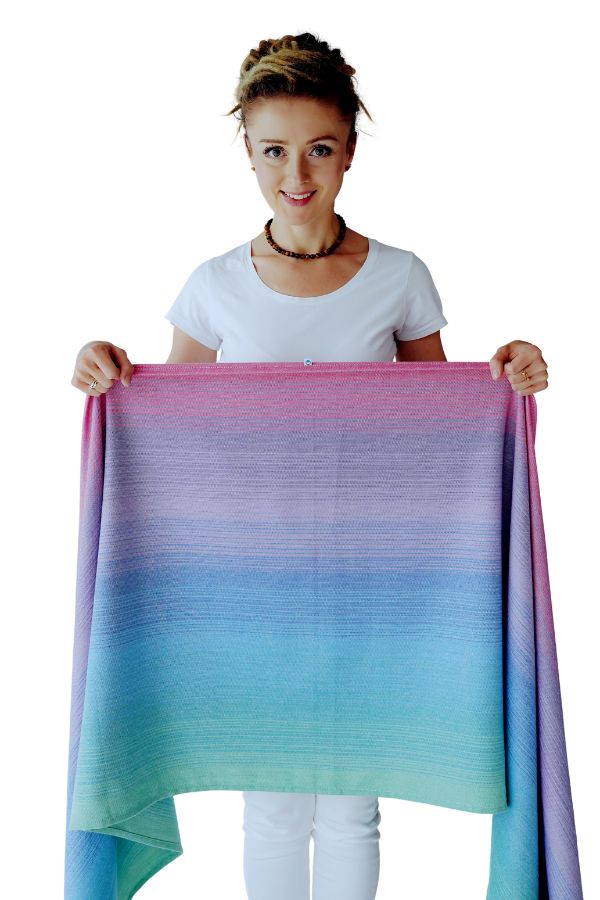
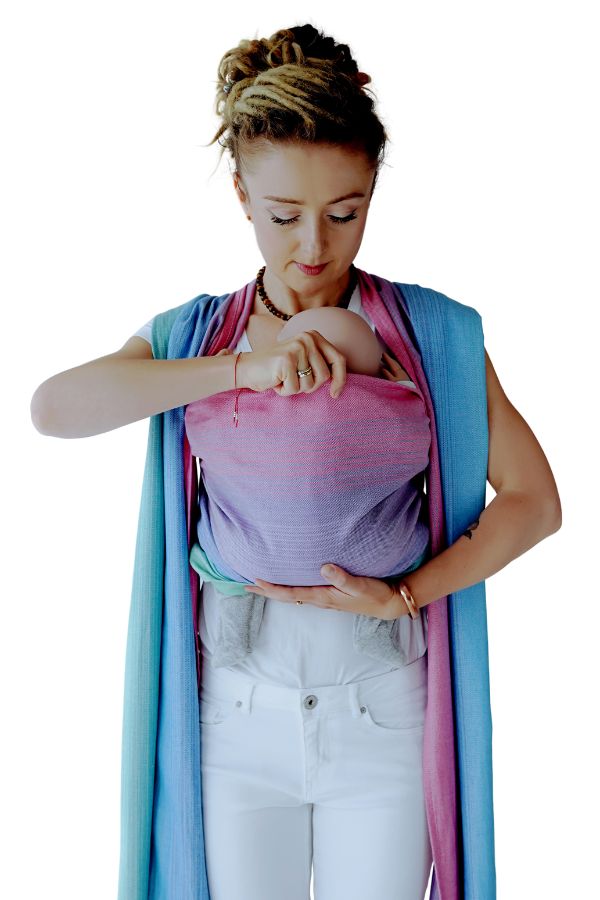
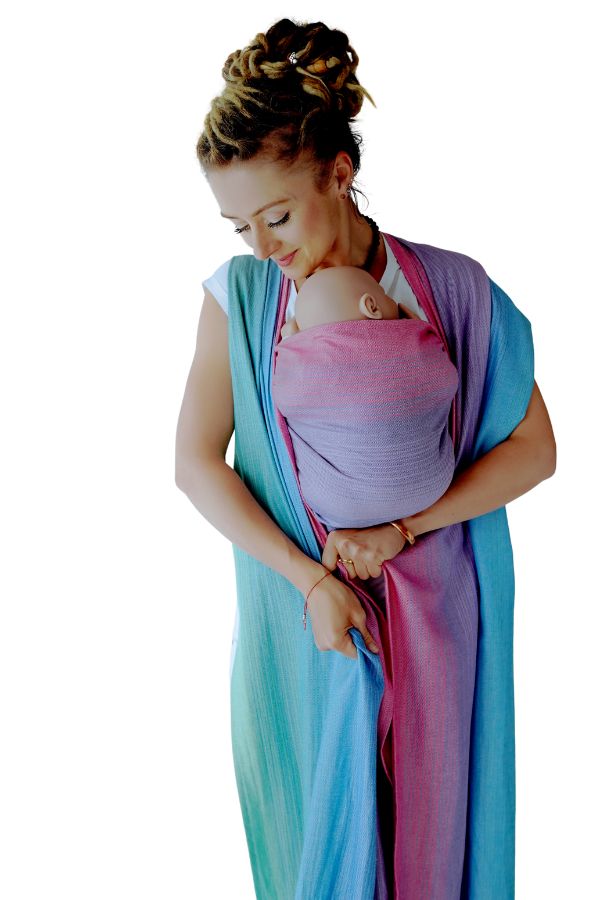
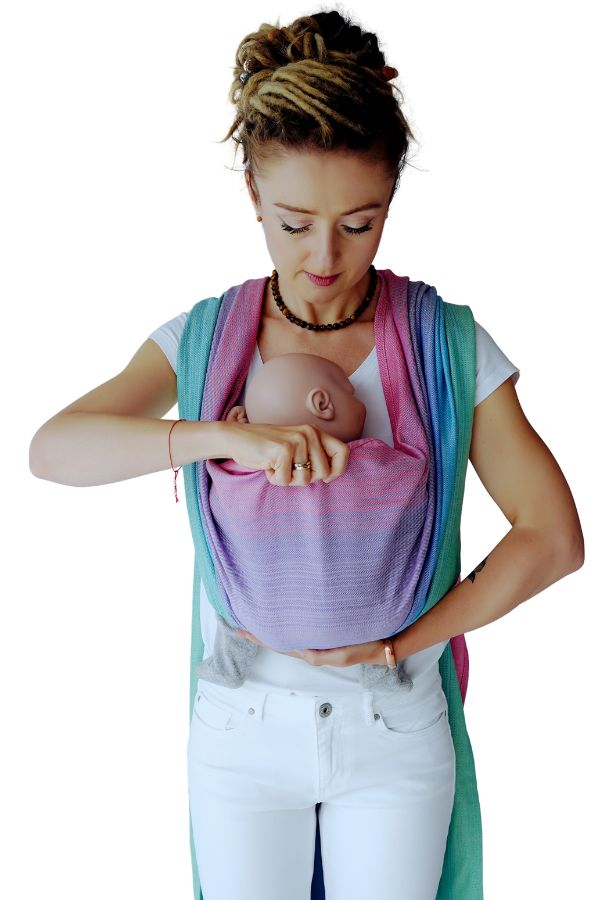
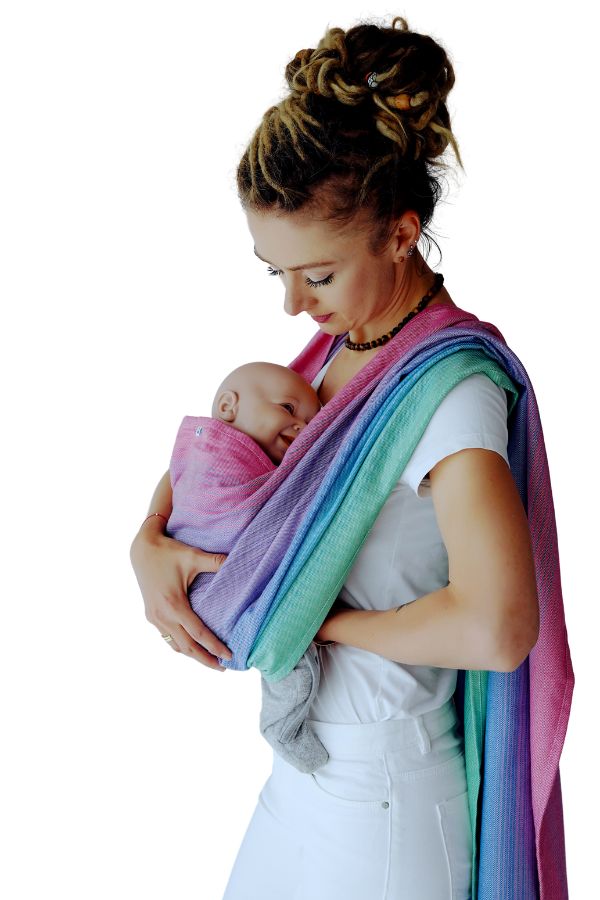
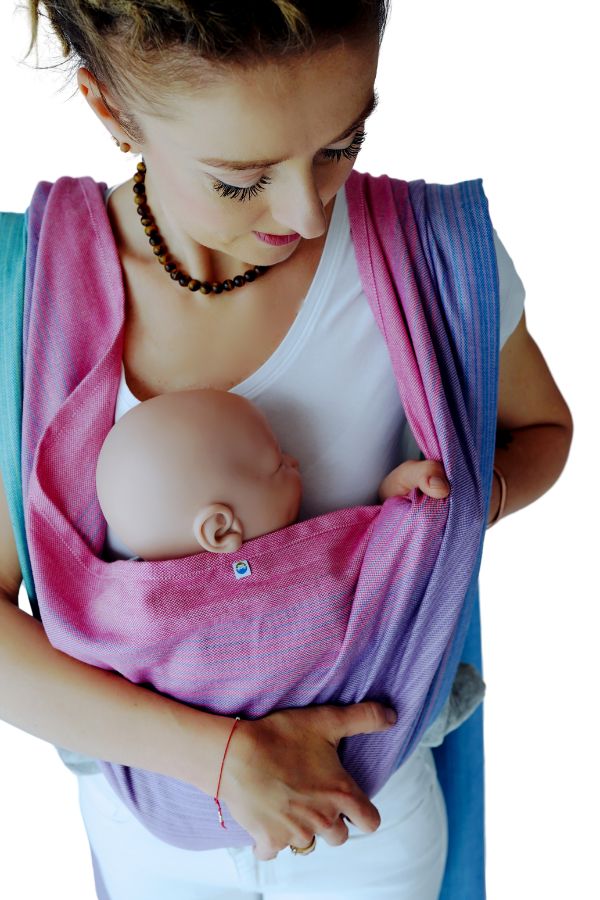
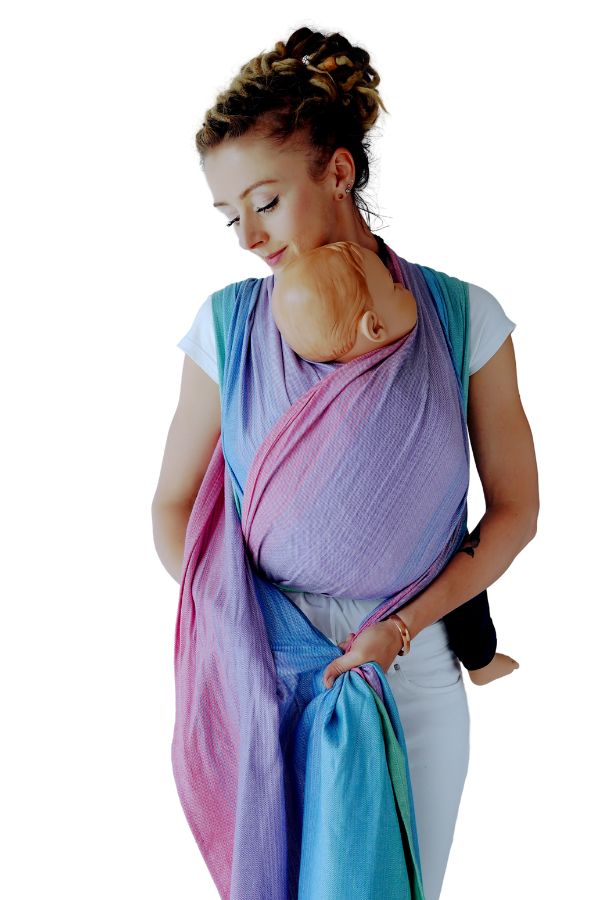
How to Tie a Pocket Wrap Cross Carry (suitable from birth)


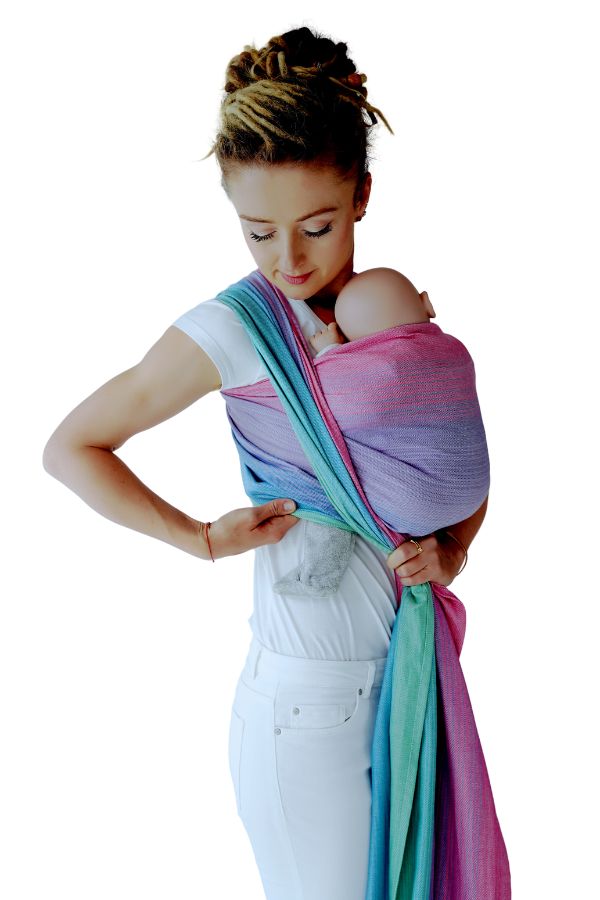
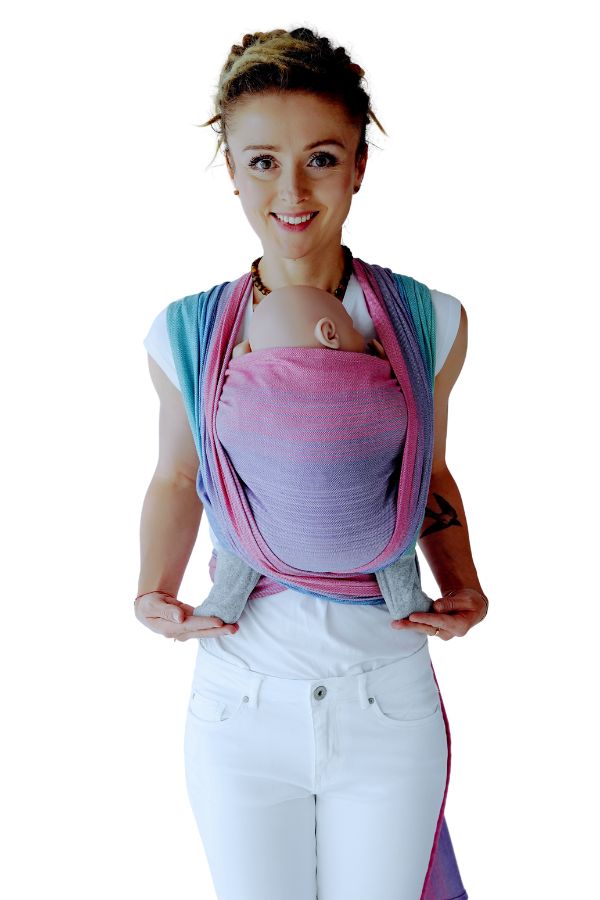
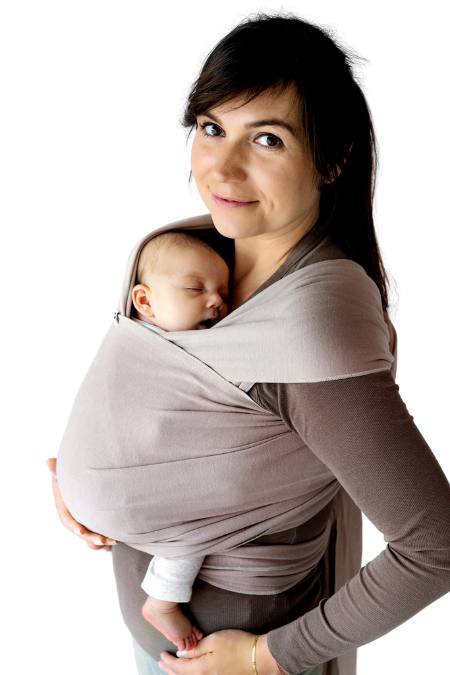
How to Tie a Kangaroo Carry (suitable from birth)


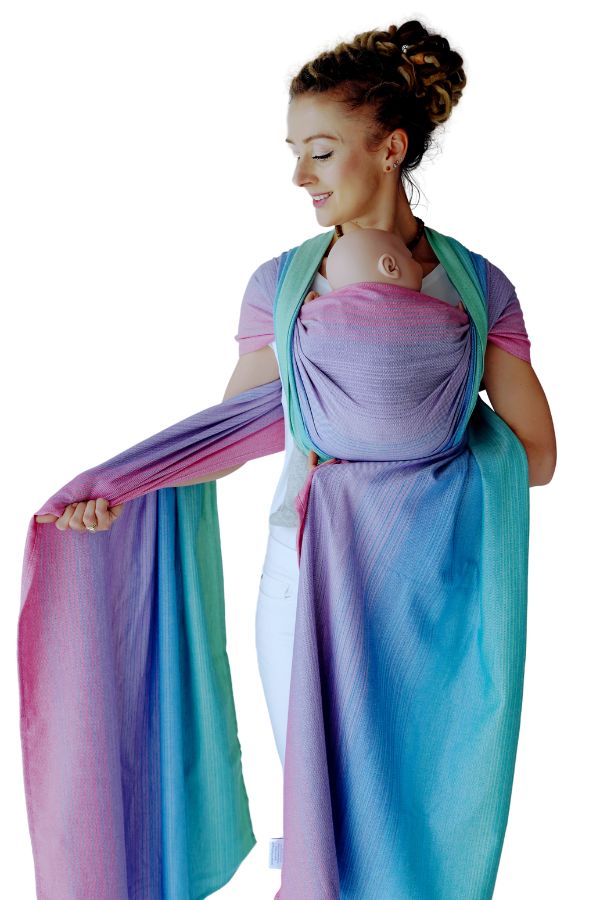
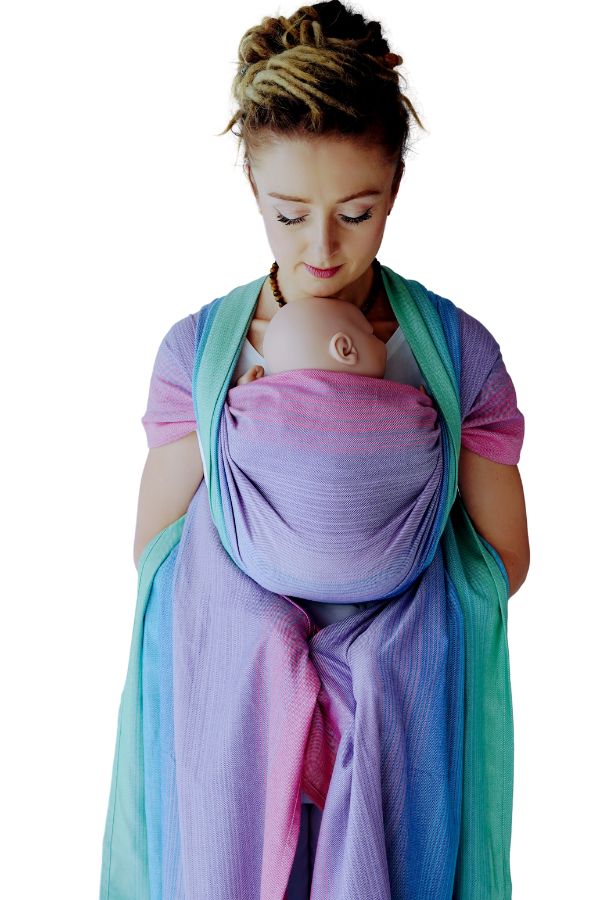

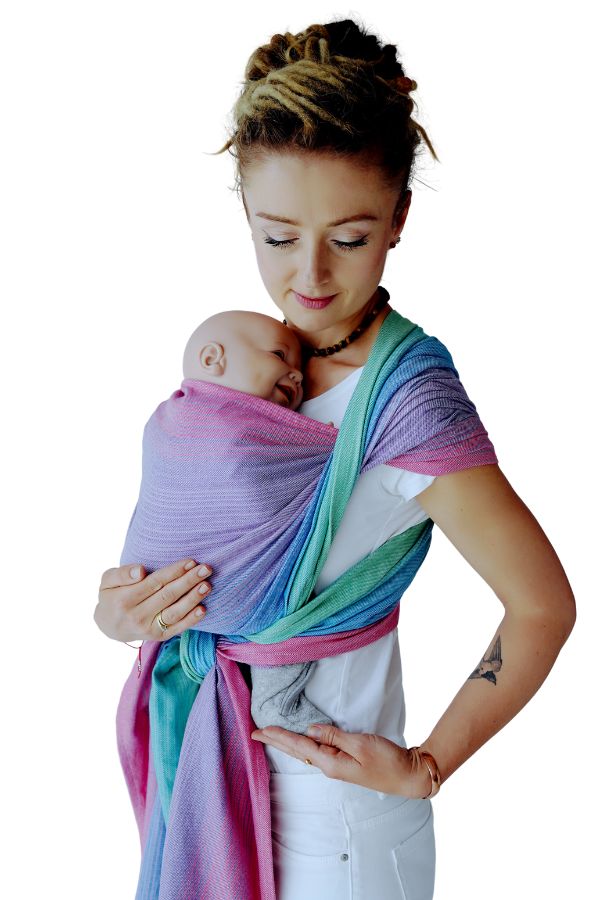
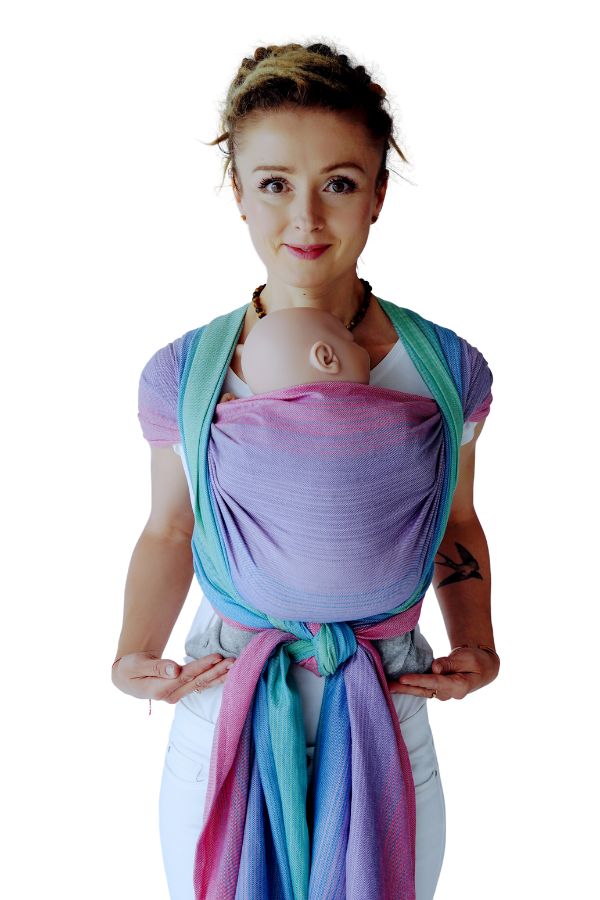
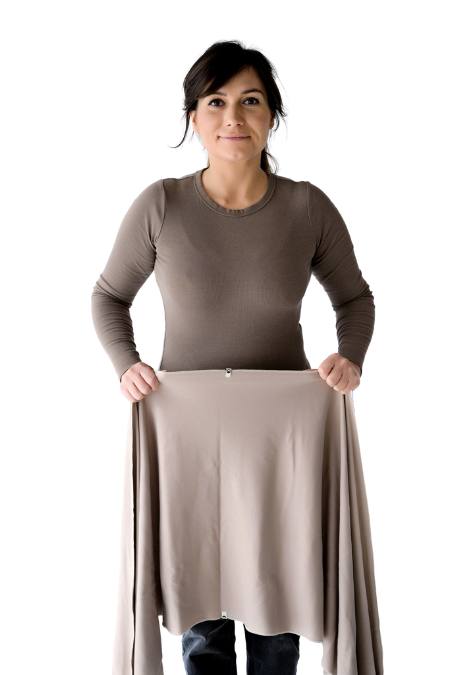
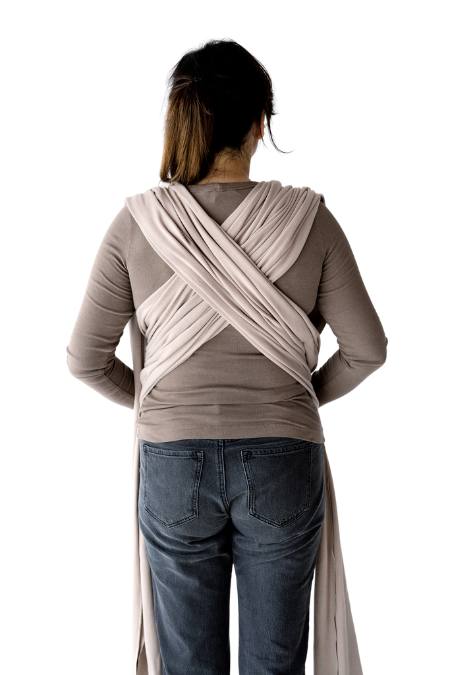
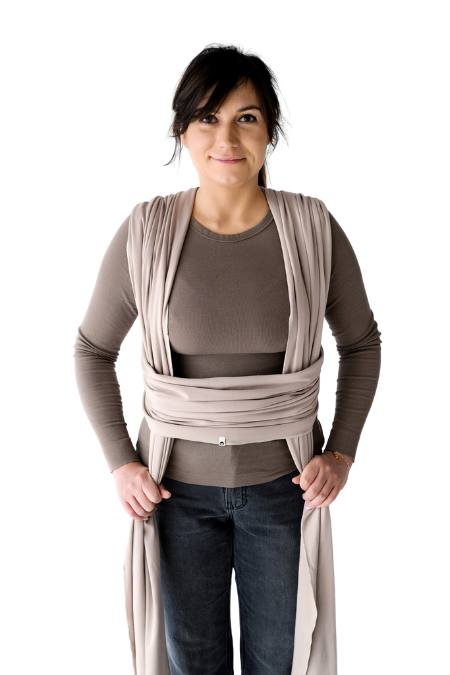
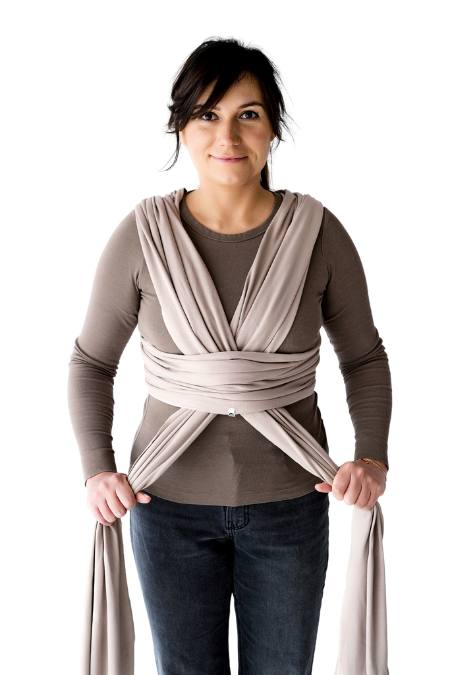
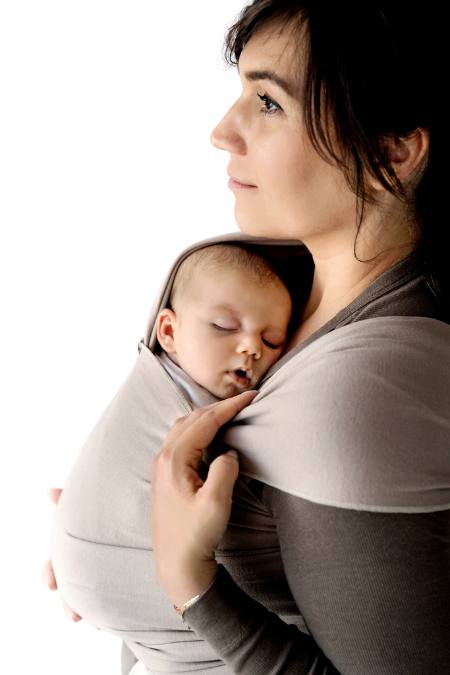
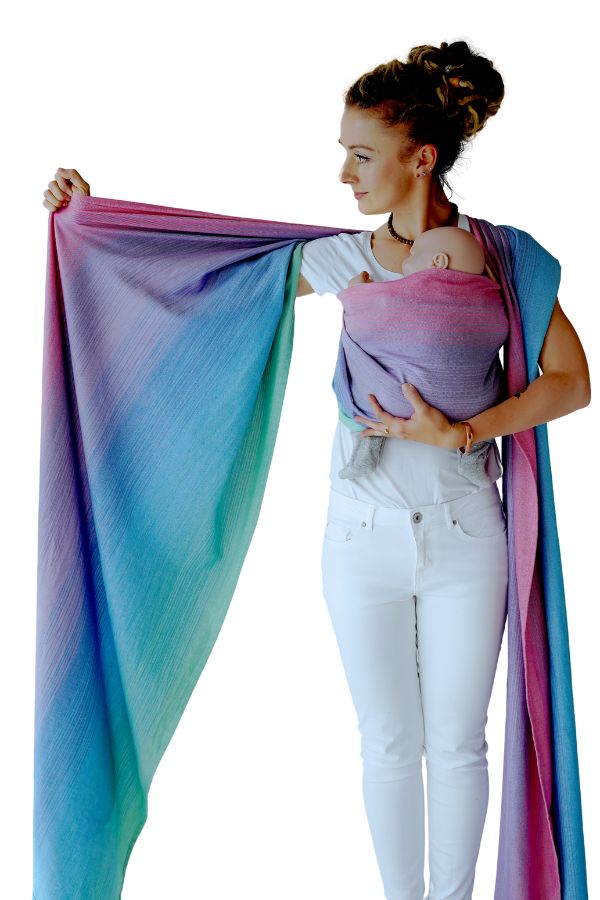
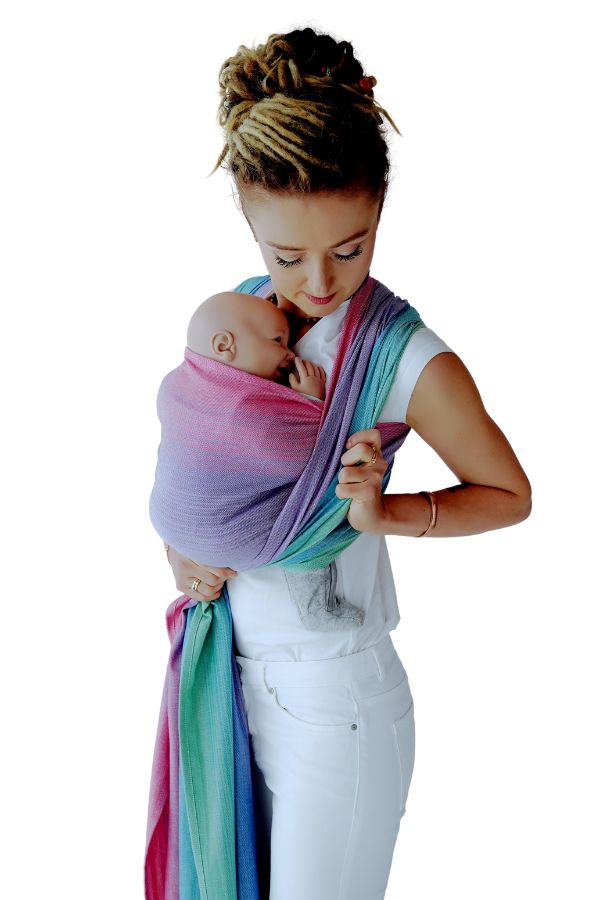
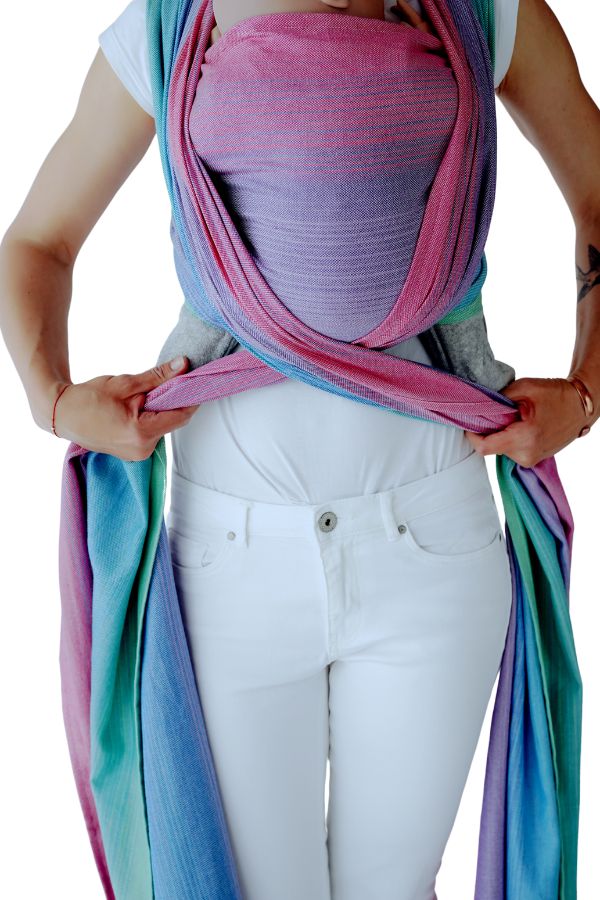
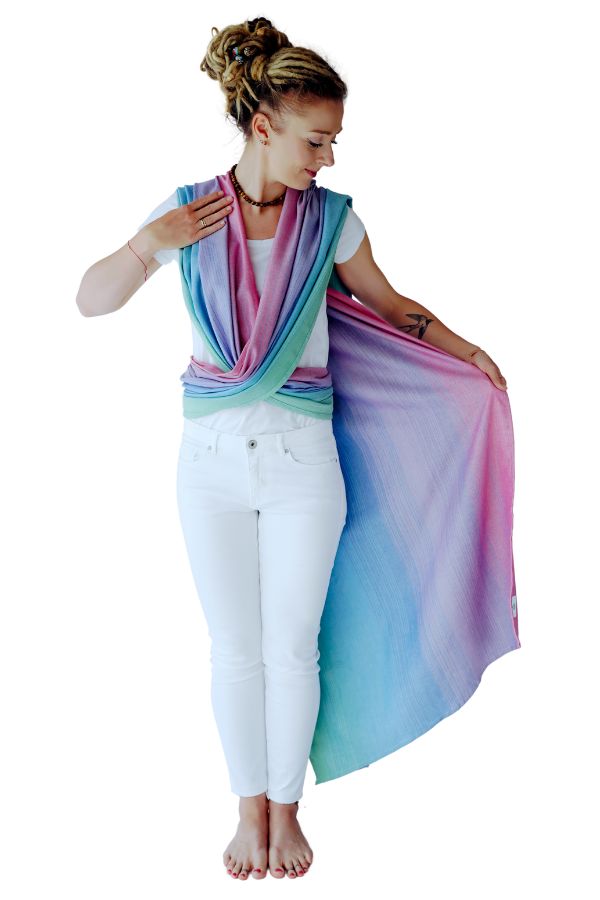
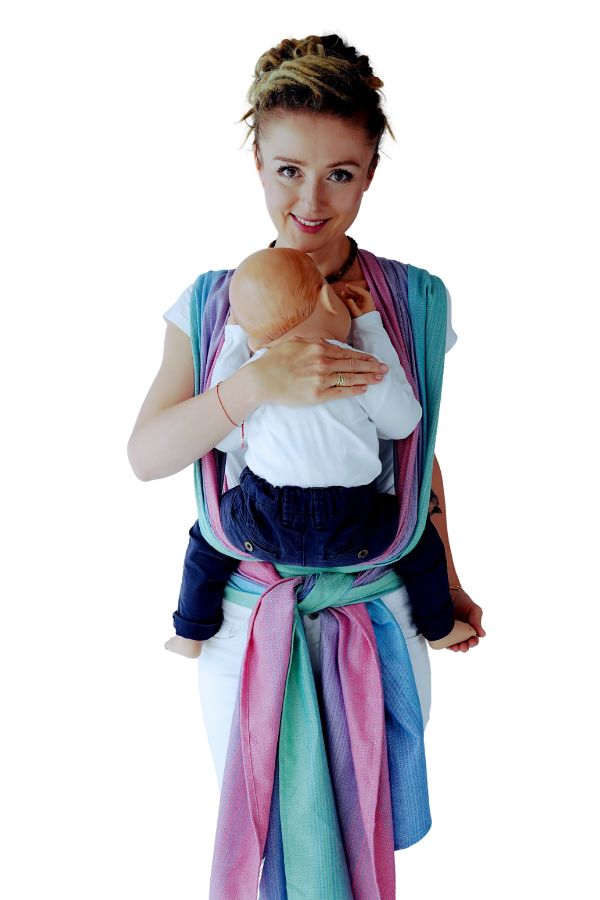
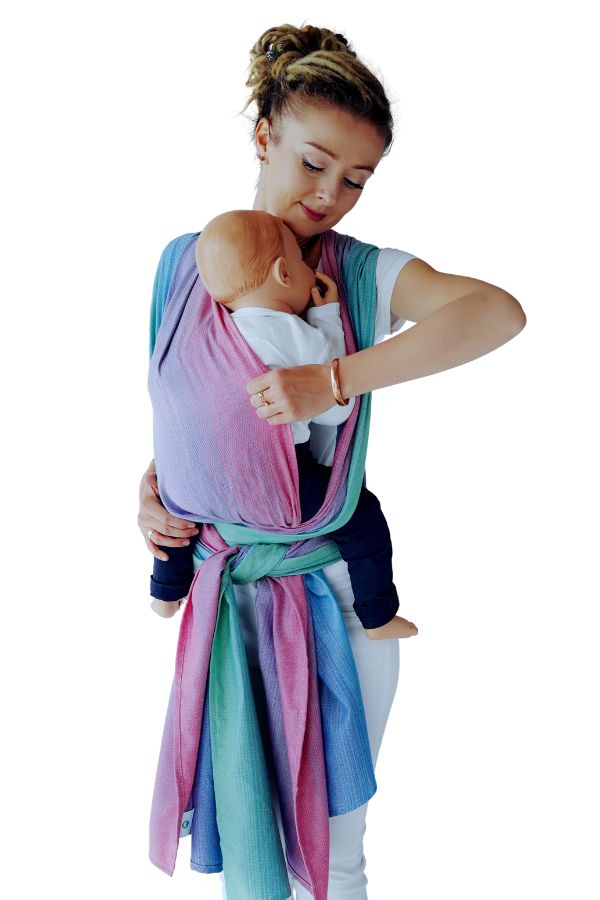
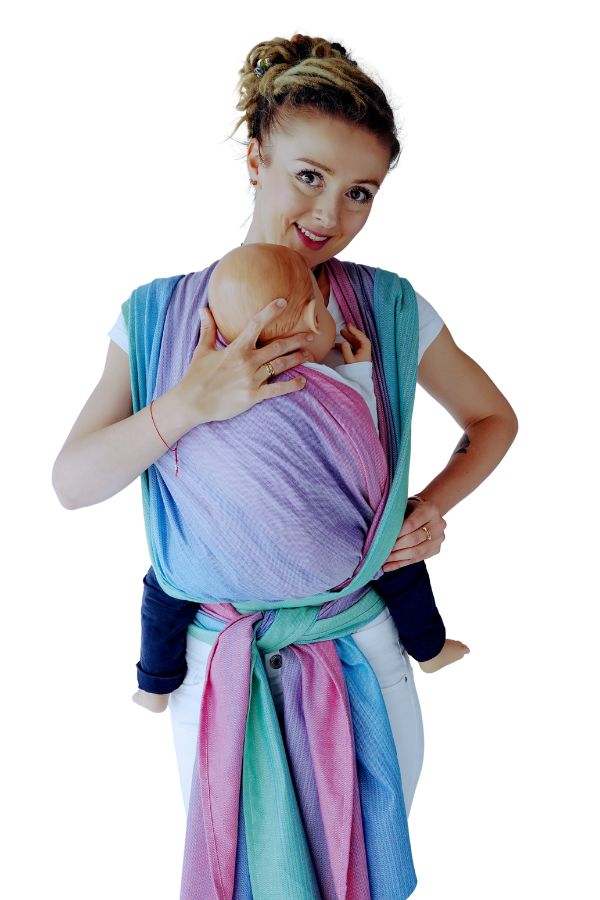
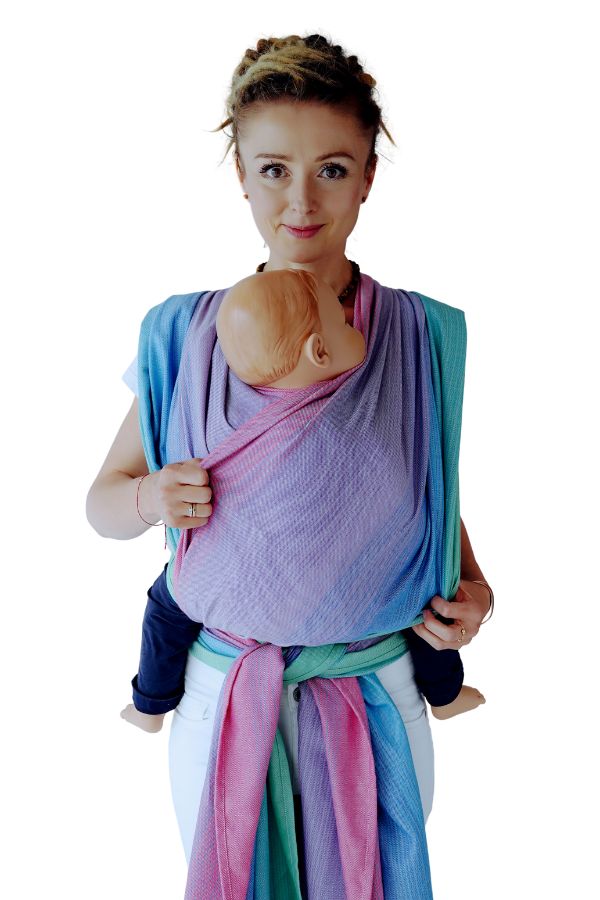
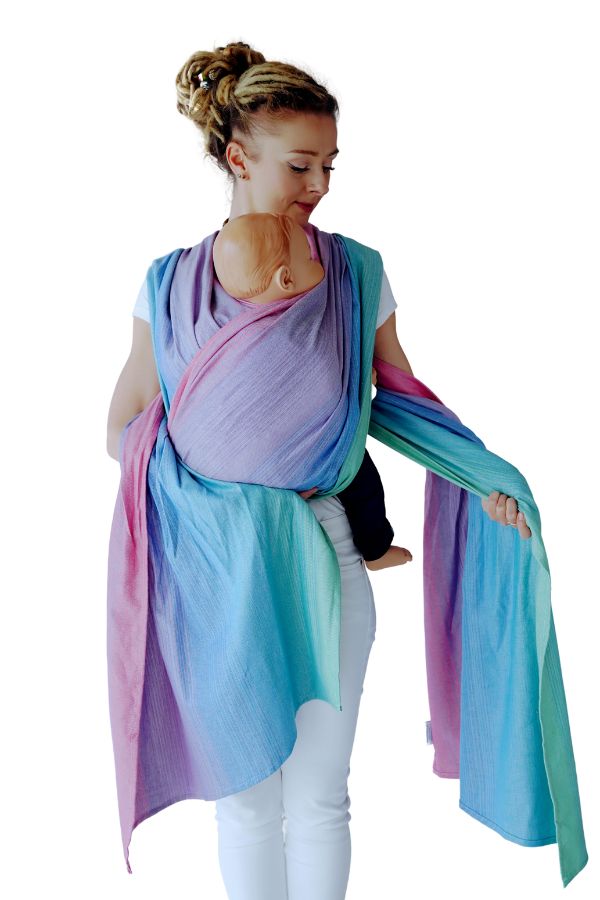
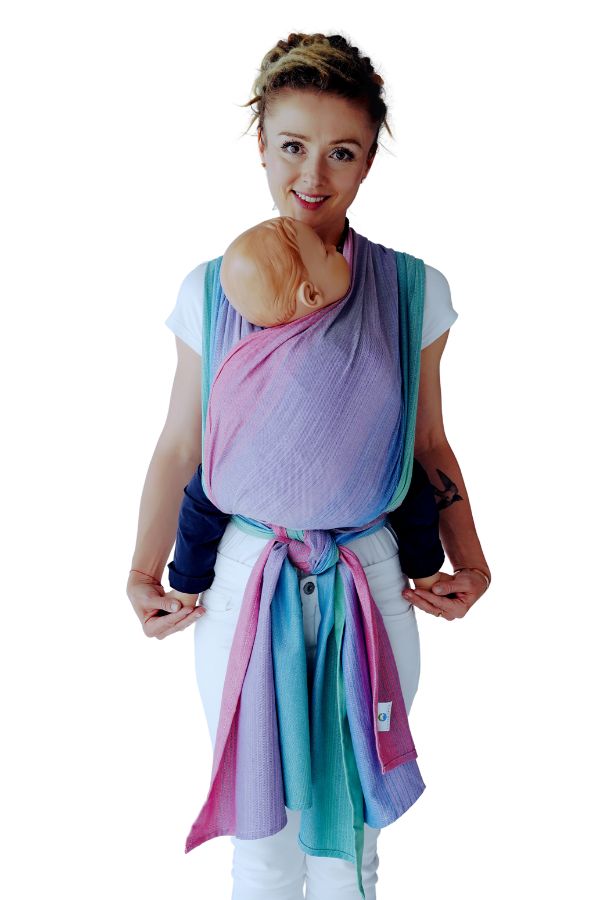
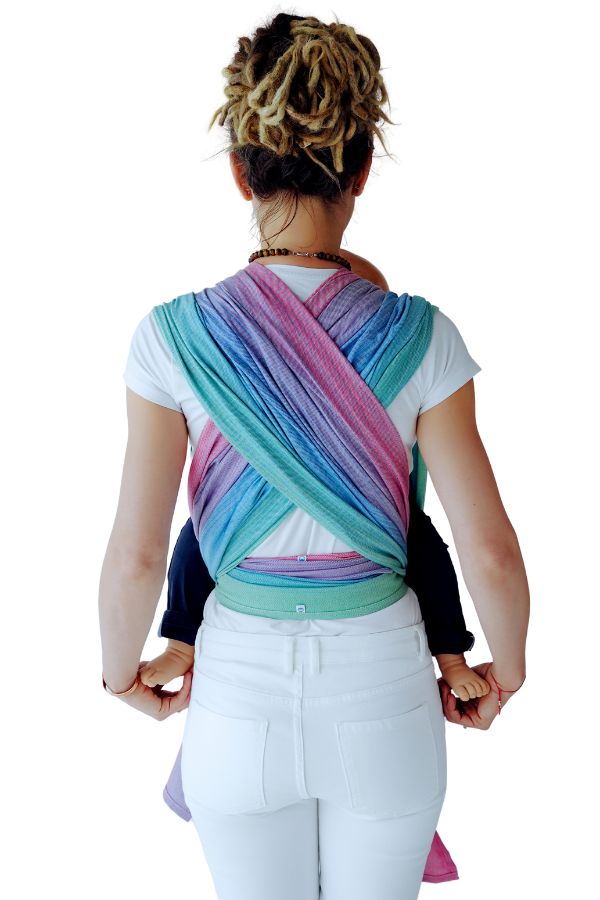
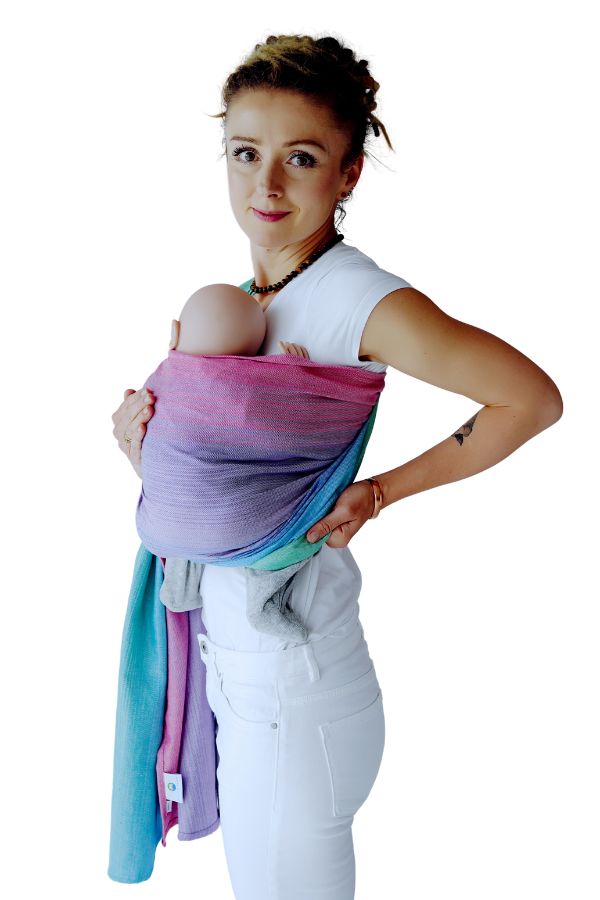
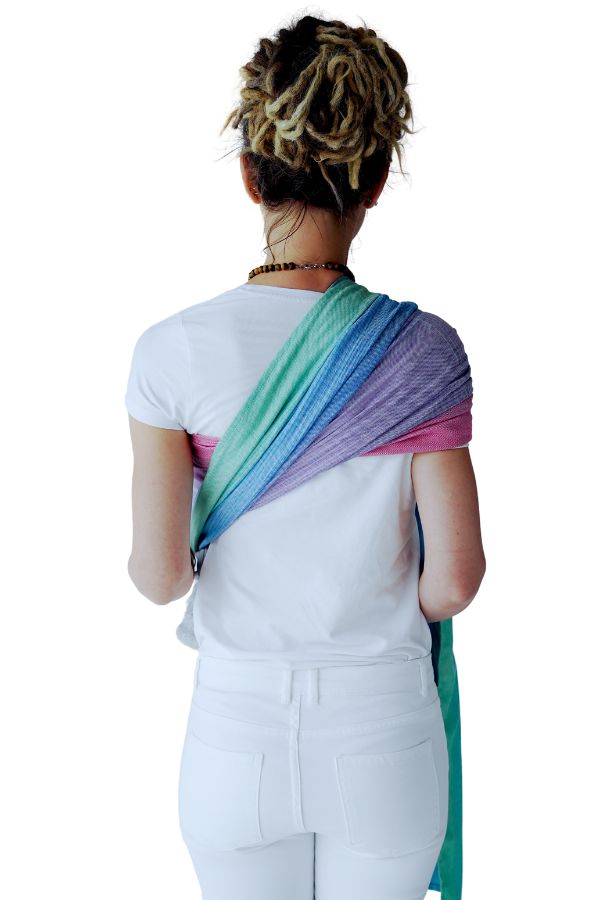
How to Tie a Front Wrap Cross Carry (from 4 months+)
The Front Wrap Cross Carry is ideal for babies who can hold their head steadily (around 4 months) and works great for older sitters. You tie it once and then simply adjust the straps when placing your baby in it.


How to Use a Ring Sling


How to Tie a Stretchy Wrap